
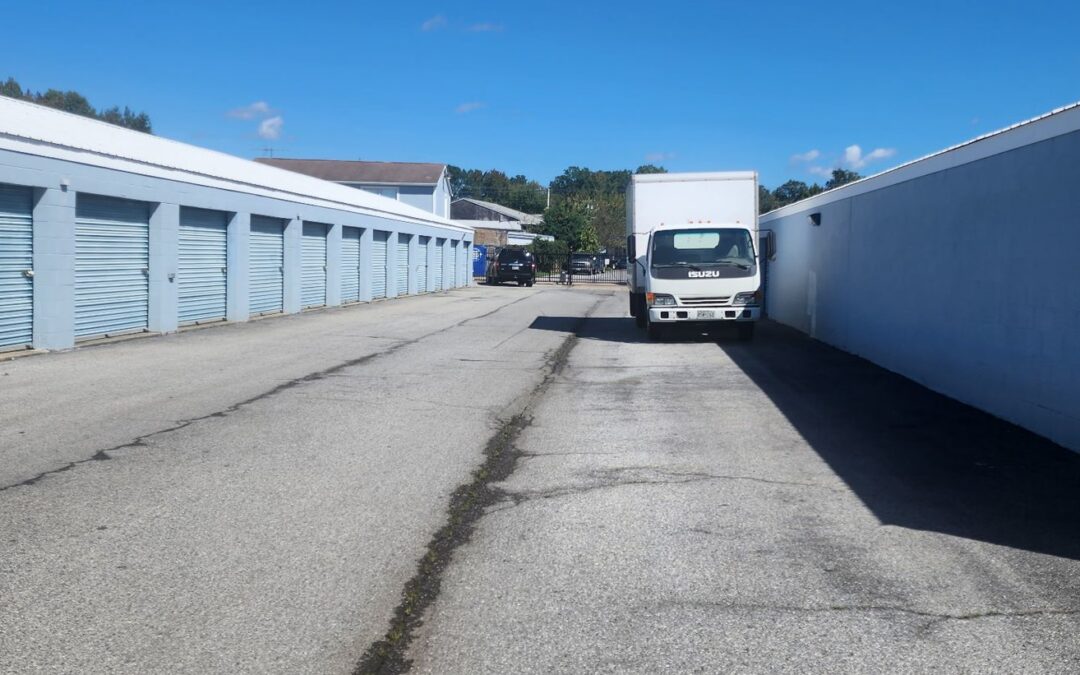
A 10×20 unit is 200 square feet, about the size of a one-car garage. That is enough room to run a small warehouse for a trade business, and enough room to bury a box of fittings behind nine hundred pounds of nothing.
The difference comes down to what you do on the first load-in. Most people fill a unit back to front, in the order the truck was packed. A year later they are standing in the doorway at 6:30 in the morning moving six things to reach one thing.
Here is the layout our commercial tenants land on, more or less, once they have had the unit long enough to get annoyed.
Plan the floor before the first load
Measure your door opening before you buy any shelving. A roll-up door is narrower than the wall it sits in, and a 48-inch shelf section that fits the wall may not turn into the room.
Two runs of 24-inch-deep shelving, one down each long wall, leaves a six-foot aisle down the middle. That is enough to walk a hand truck in and pivot it. If you are storing anything wide, like scaffold frames or a stack of staging planks, put shelving on one wall only and keep the other side as open floor. That gives you about eight feet of working width instead.
Either way, draw it once on paper. Moving loaded shelving later is a Saturday you do not get back.
Three zones, front to back
Think of the unit in thirds.
- The front five or six feet is staging, and it stays empty. You back the truck to the door, set a load down, and sort it there. Resist filling this space. It is what makes the whole unit usable.
- The middle is your working stock. Shelving, bins, the tools and material you touch weekly.
- The back four or five feet is cold storage. Low turnover only: archived files, leftover fixtures from a finished job, the seasonal equipment that is out of season.
Twice a year, swap the back and middle as the work changes. Snow gear moves forward in November and goes to the back in March. That ten minutes of shuffling beats climbing over a salt spreader all summer.
Shelving that holds up
Freestanding boltless rivet shelving, the 48x24x72 kind, is the workhorse here. It goes together without tools and comes apart when you change units.
Do not anchor anything to the walls. It is not your building, the block does not love it, and your rental agreement almost certainly says no. Instead, load the bottom shelf heaviest so the rack is bottom-weighted and will not walk or tip when somebody pulls a tote off the top.
Put plywood or a pallet under anything sitting on the slab. Concrete gets cold, warm air moves in, and condensation ends up in the bottom of whatever you left on the floor. We covered the rest of the stacking rules in our post on packing a unit so you can find things later.
Label for the guy who is not you
Give every rack a letter and every shelf a number, bottom shelf as 1. Write the location on the bin, so “B3” tells whoever borrowed it exactly where it goes back. A label on the lid is useless once a bin is on a shelf, so label the end that faces the aisle.
Keep the index in a shared note on your phone, not on a clipboard in the unit. The point is for a helper to park at the gate at six in the morning and find the thing without calling you.
Clear totes beat cardboard for anything you open regularly. Cardboard sags and gets soft in a humid Maryland August, and you cannot see into it.
Give consumables a reorder line
Run a strip of tape across the shelf behind your stock of screws, blades, caulk, wrap, and tape. When the pile drops below the line, it goes on the buy list that week.
This is the cheapest inventory system there is, and it stops the thing where you buy a fourth case of 2-inch screws because nobody could see the first three.
Long stock and awkward loads
- Conduit, PVC, and trim stand on end in a corner with a ratchet strap around the bundle so it cannot fan out across the aisle.
- Scaffold frames stack flat against the back wall, planks on top of them.
- Ladders lie flat on a low rack or stand against the wall tied off. A ladder that falls takes out whatever is on the shelf next to it.
- Doors, glass, and countertop go on edge, never flat with weight on top.
What does not go in the unit
No fuel, no propane, nothing flammable. Drain the mower and the pressure washer before they come in. If you are not sure about something, ask the office and we will tell you straight.
The units are masonry and they are not climate controlled, which is fine for tools and material and hard on a few specific things. Adhesives, caulk, and batteries do not enjoy a January night in Waldorf. Keep the temperature-sensitive stuff in the van or at home through the cold months.
Make a stop take five minutes
Everything above exists to serve one habit: every item has one home, and it goes back to that home. Crews follow that rule when the labels make it obvious and ignore it when they have to guess.
Two more things worth doing. Bring a rechargeable work light, because a phone flashlight in one hand means one hand for everything else. And take a photo of the unit from the doorway before you pull the door down. When you are standing at a supply house wondering whether you already own another box of anchors, the photo answers it.
Once a month, give it twenty minutes. Break down boxes, put the strays back on their shelves, sweep the aisle. A unit that gets twenty minutes a month never needs a whole Saturday.
If you are sizing one up
A 10×20 is the common choice for a small crew holding tools plus material between jobs. If you are storing more, we go up to a 12×30 at 360 square feet. Details on the larger sizes, the security setup, and what other trades keep here are on our contractor and business storage page.
Shelving and bins we do not sell, but boxes, tape, and wrap are in the office, and we rent U-Haul trucks and trailers on site if you need something bigger for a move-in day. Call us at (301) 843-5220 or stop by 3325 Leonardtown Road and we will walk you through an empty 10×20 so you can measure it yourself.